DCSE Self-Study Training MaterialsNAME OF MODULE |
|
||||||||
Using Dell OpenManage Array Manager on a System with a Dell AMI-based PERC Hardware RAID Controller
If the computer you are managing has a Dell AMI-based PERC hardware RAID controller installed, the left-hand pane of the Dell OpenManage Array Manager console will display three folders under the system name in the menu tree. The Arrays folder represents the hardware RAID controller, and displays the PERC, its SCSI channels, physical drives, and logical drives on the controller. All AMI-based Dell PERC cards display the PERC Subsystem under the Arrays folder. The Disks folder contains virtual disks, which are RAID arrays managed by the controller, and also lists non-RAID storage devices installed on the server. The Volumes folder contains volumes (partitions) that have been created on the virtual disks and are available for use by the operating system. Figure 1 provides a closer view of the left-hand pane of the Dell OpenManage Array Manager console running on a system with a Dell PERC 3/DC installed.
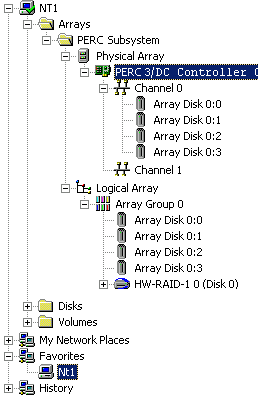
Figure 1: Array Manager Console Menu Tree on a System with a PERC 3/DC
Creating a Virtual Disk on the AMI-based Dell PERC Cards
Dell OpenManage Array Manager refers to an array on a hardware RAID controller as a virtual disk. The procedure below shows how to create a virtual disk on a Dell PowerEdge server with an AMI-based Dell PERC.
Improper use of Dell OpenManage Array Manager can result in the loss of data.
CAUTION: Virtual disks on the PERC Subsystem MUST BE deleted in the reverse order of which they were created. If you have created four virtual disks and wish to remove the second one, you must delete the fourth, the third, and then the second. Deleting a virtual disk deletes all volumes on the virtual disk (and all data on the volumes).
| # | Creating a Virtual Disk on the PERC Subsystem |
|---|---|
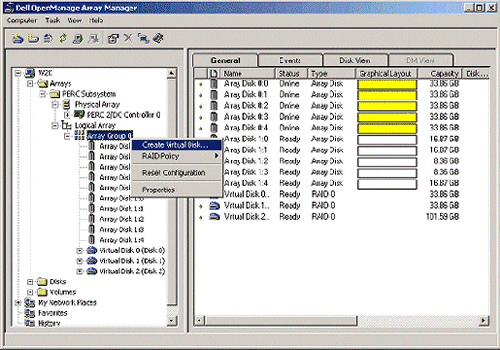
| 1. | Expand Arrays -> PERC Subsystem -> Logical Array, right-click Array Group 0, and select Create Virtual Disk.
 |
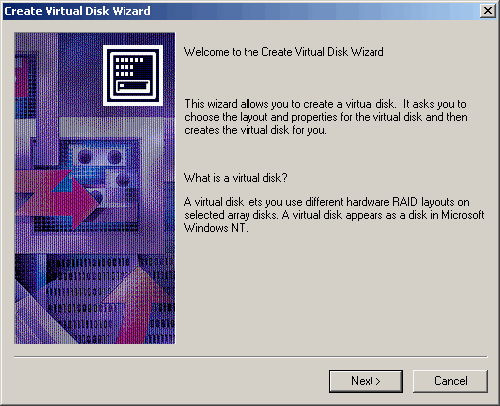
| 2. | Click <Next> when the Create Virtual Disk Wizard appears.
 |
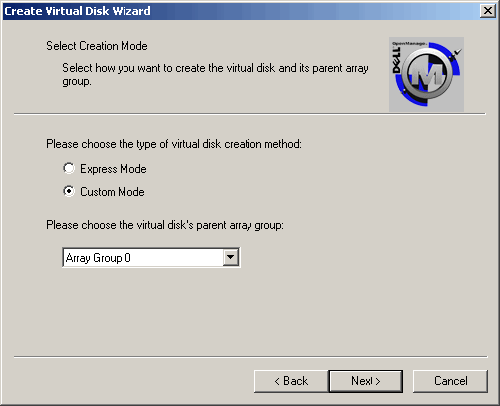
| 3. | Select Custom Mode, which allows you to select the Array Disks that will be used for your virtual disk manually, and click <Next>.
 |
| 4. | Select the physical disks that you wish to use under Array Disks.
NOTE: If the Array Disks have different capacities, all disks will be truncated to the size of the smallest member. In this example, the two 18 GB disks (Array Disk 1:0, and Array Disk 1:1) are only using half of their capacity because they are members of the same virtual disk as a 9 GB disk (Array Disk 1:2). 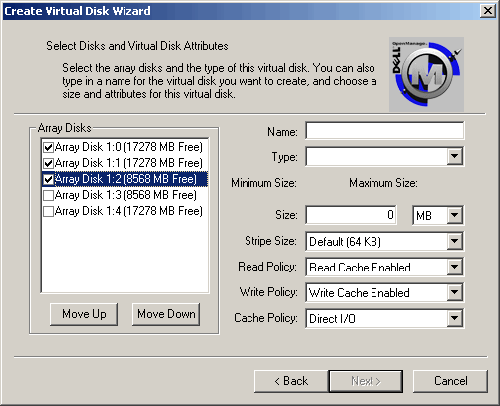 |
| 5. | Type a Name for the virtual disk, and select the Type from the drop-down list.
NOTE: The available types depend on the number of array disks selected. In this example three array disks were selected. 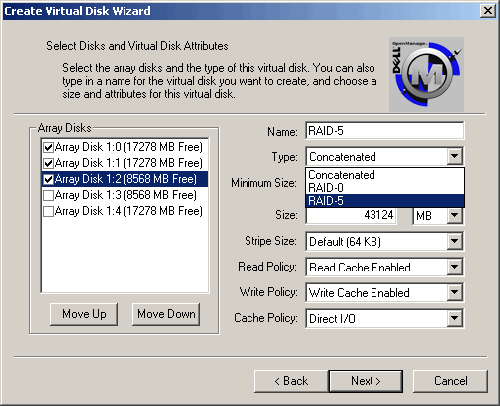 |
| 6. | The Size of the virtual disk will automatically change to the maximum size based on the Type you selected.
Verify the settings for Stripe Size, Read Policy, Write Policy, and Cache Policy, then click <Next>.
NOTE: You can reduce the size of your virtual disk, but you will be unable to use the remaining space on the array disks to create additional virtual disks. You can use volumes to sub-divide a large virtual disk if needed. 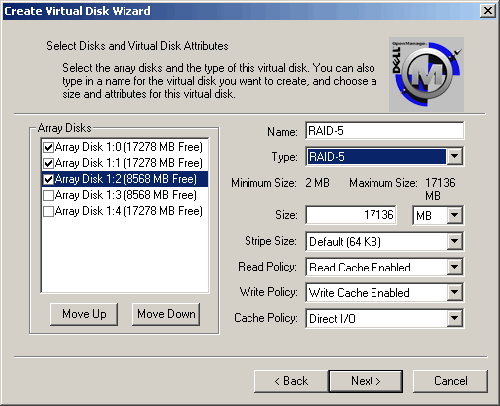 |
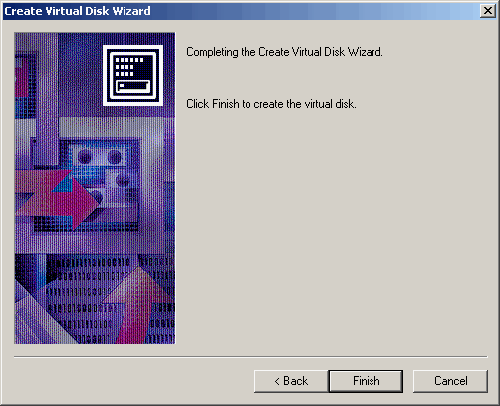
| 7. | Click <Finish> to exit the wizard and create your virtual disk.
 |
| 8. | The new virtual disk will be added to Array Group 0, and to the Disks folder.
NOTE: The virtual disk must be signed and have volumes created on it before it can be used by the operating system. 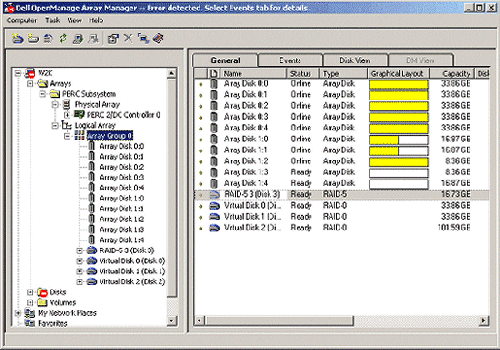 |
Preparing a Virtual Disk for Use by the Operating System
Before Microsoft Windows NT 4.0 or Microsoft Windows 2000 can use a new virtual disk, you must write a signature to the virtual disk and create a volume on the signed virtual disk. Follow this procedure to perform these two tasks and make a virtual disk accessible to the operating system:
Improper use of Dell OpenManage Array Manager can result in the loss of data.
| # | Preparing a Virtual Disk for Use by the Operating System |
|---|---|
| 1. | Expand Disks and locate the unsigned disk (red circle with a white bar superimposed over its icon) that corresponds to the
new virtual disk.
NOTE: The disk number in parentheses listed next to the virtual disk (under Array Group 0) will match the disk number listed under Disks. 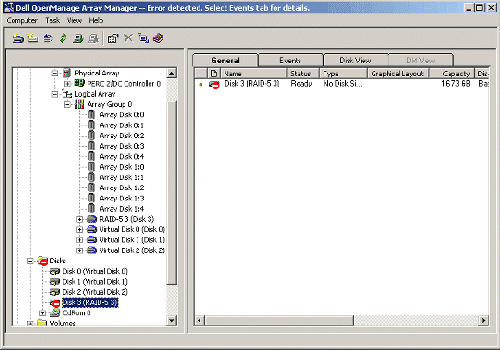 |
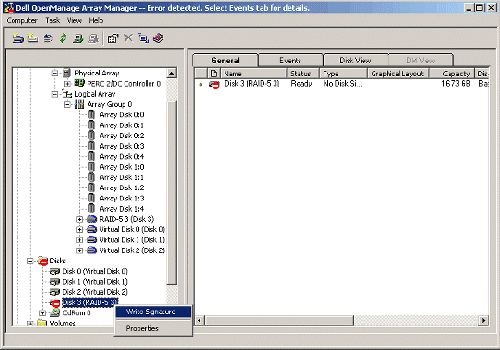
| 2. | Right-click the unsigned disk that corresponds to the new virtual disk (Disk 3 in this example) and select Write Signature.
 |
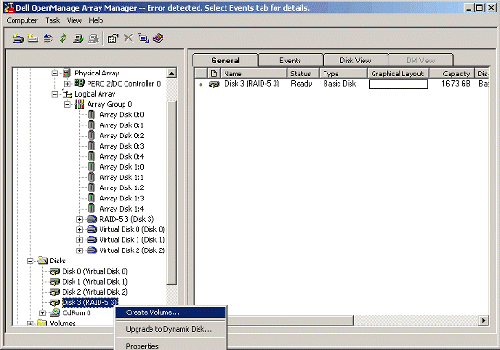
| 3. | The unsigned icon will disappear from the disk, and you will be able to create volumes on the new virtual disk. Right-click the disk that corresponds to your new virtual disk (Disk 3 in this example) and select Create Volume.
 |
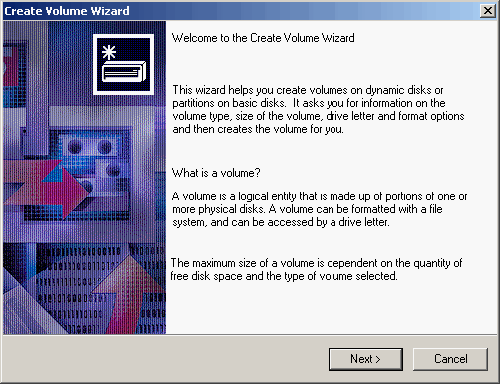
| 4. | Click <Next> when the Create Volume Wizard appears.
 |
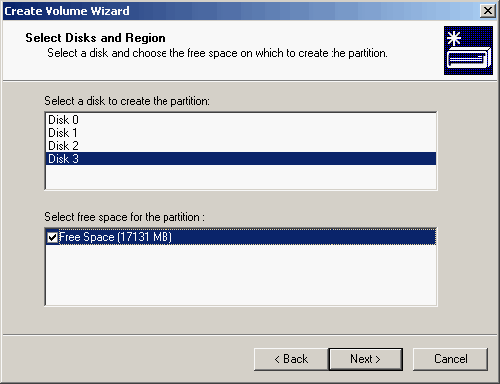
| 5. | Verify that the correct disk and region are selected, and click <Next>.
 |
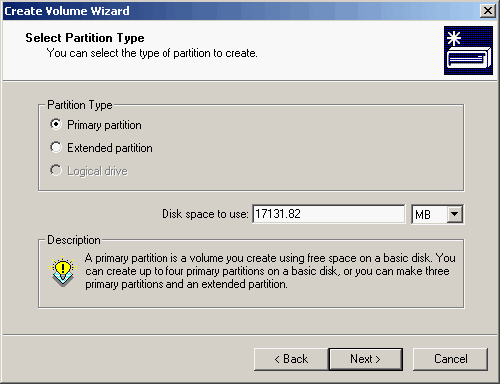
| 6. | Select the Partition Type. Adjust the Disk space to use if you do not wish to use the entire disk and click <Next> to continue.
 |
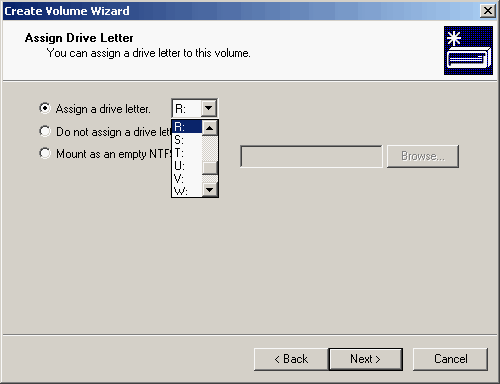
| 7. | Assign a drive letter or path for the volume and click <Next>.
 |
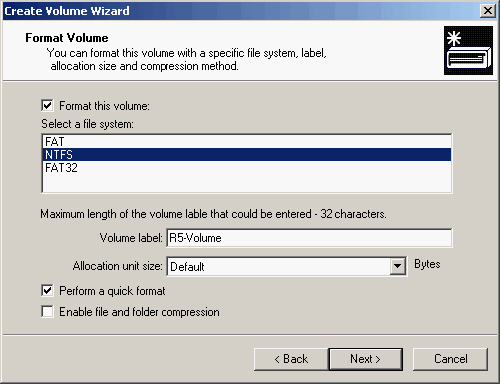
| 8. | Select the File System, type a Volume label, and click <Next>.
 |
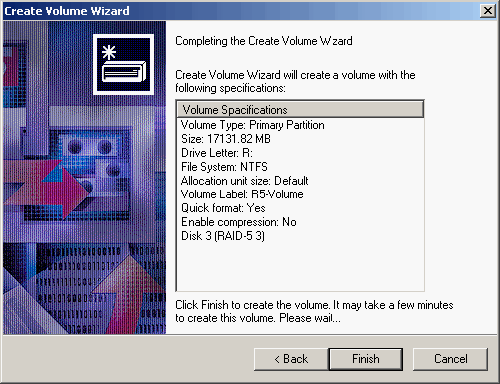
| 9. | Verify the Volume Specifications and click <Finish> to create the volume on the virtual disk.
 |
Configuring a Global Hot Spare for Virtual Disks on the AMI-based Dell PERC cards
The AMI-based Dell PERC cards can designate a physical drive (array disk) for use as a global hot spare. When a hot spare disk is present, the PERC will automatically begin rebuilding a virtual disk when a drive failure occurs.
NOTE: A global hot spare array disk should have at least the same capacity as the largest array disk participating in a virtual disk.
Improper use of Dell OpenManage Array Manager can result in the loss of data.
Follow this procedure to assign a global hot spare for AMI-based Dell PERC Cards using Dell OpenManage Array Manager:
| # | Configuring a Global Hot Spare for Virtual Disks in the PERC Subsystem |
|---|---|
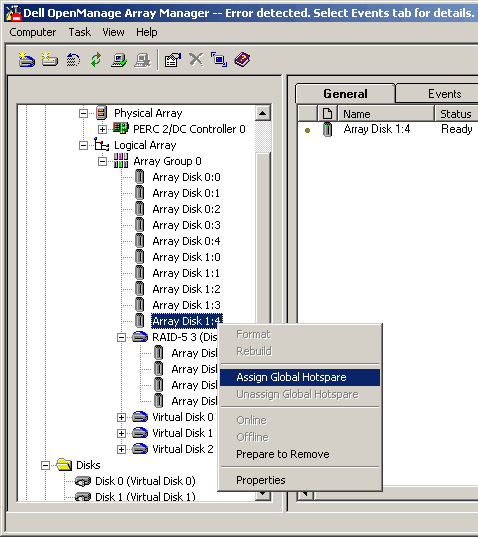
| 1. | Expand Arrays -> PERC Subsystem -> Logical Array -> Array Group 0, right-click an unassigned array disk
(Array Disk 1:4 in this example), and select Assign Global Hotspare.
 |